• This forum is the machine-generated translation of www.cad3d.it/forum1 - the Italian design community. Several terms are not translated correctly.

creation of sheet metal on conical-inclined wall

  • Thread starter Thread starter Esselle
  • Start date Start date

Esselle

Guest
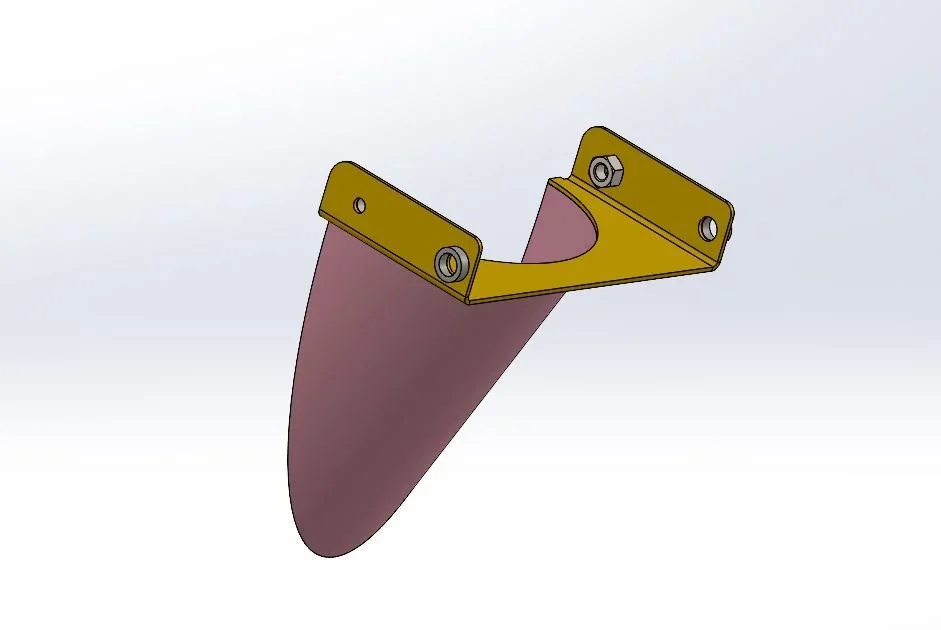
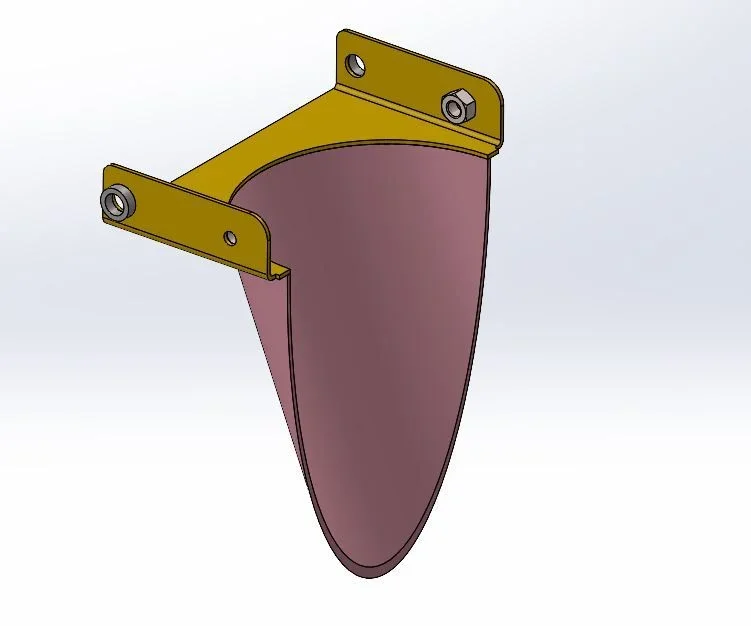
Good morning, I should "wrap" on the wall of the semi-gloss (the one in pink to mean), in the position I place on the design in dwg, a strip of sheet to fix other details.
I have no idea how to start. . . drawing allego, together and images.
Thank you in advance.
 

Attachments

  • FASCIA ASSIEME.zip
    FASCIA ASSIEME.zip
    792.5 KB · Views: 4
  • Immagine 1.webp
    Immagine 1.webp
    15.9 KB · Views: 10
  • Immagine 2.webp
    Immagine 2.webp
    16.3 KB · Views: 7
I've done a draft for something to think about.
to consider that:
any conversion of existing geometry creates a spline that cannot be used to create a sheet
partial ellipses can be used to create a sheet, but development cannot be obtained
the sheet was obtained by approximating the ellipse with a series of strings made tangent among them (I left the ultradefined sketch because for the demonstrative purpose has little relevance)

in the production phase the band will however undergo adjustments in the welding phase
 

Attachments

I could look fast, but it looks like the result is the right one.
I just have to try and replicate what you did.
to adapt surely and this I expected.
Thank you very much, I try to replicate and tell you!
 
to comment on the functions:
- Axes1 and Piano2 are rimasugli of a previous idea, they do not serve anything and you can not do them
- coils serve to have a basic solid on which to create sheet metal
- the winding function does not create a separate solid so it serves the split function
- the next two cuts 2 and 7 serve to have plans on which to make sketches because the winding function created non-linear plans
- sketch 30 is a rimasuglio
- Body eliminates deletes the body obtained with winding function
 
thanks to the explanation, in fact I was not clear the function of cutting 2 and 7.

I managed to replicate everything, but I find myself facing a problem I try to explain.
As you have seen from the pictures, everything is a set and I must be able to create my piece to "wrap" so that it is connected to the part to which it is welded. by connected I mean that it can vary the shape and position following the changes of the piece "father".
I thought of doing so: can you create a copy of the 002 band piece that depends on the original on which to build the "wrong" piece? or is it better to use another procedure?
 
I see two methods:
1 you can draw it in the environment together, creating a part on the spot and then modeling with references to the pink part
2 open your pink file, from the separate materials insert into the new part and you will get an identical part and connected to the original one on which to model the band; at the end of the functions deletes the original body with the command deletes body
 
After writing I tried method 1, but I can't get the winding function on a blank piece, I mean as first processing. Now I try the second system, which I didn't know.
 
this is what I got, with the second method, succeeding therefore to have also the desired links.

Thank you again!Risultato.webp
 

Forum statistics

Threads
44,997
Messages
339,767
Members
4
Latest member
ibt

Members online

No members online now.
Back
Top