You are using an out of date browser. It may not display this or other websites correctly.
You should upgrade or use an alternative browser.
You should upgrade or use an alternative browser.
linus57
Guest
Hi.
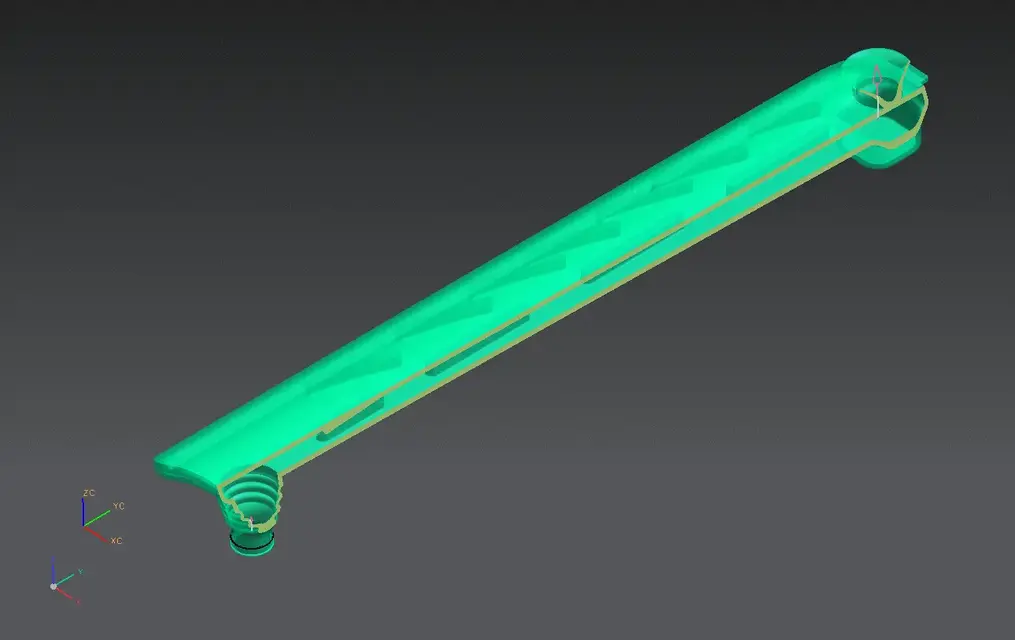
when I make a tank, I extract internal surfaces on layer 250,
I cook them and get the solid that I then need to check the volumes by tapping to the various inclinations.
This is the way I follow.
Hi.
_
when I make a tank, I extract internal surfaces on layer 250,
I cook them and get the solid that I then need to check the volumes by tapping to the various inclinations.
This is the way I follow.
Hi.
_
VALEBASO
Guest
Unfortunately for me I have little familiarity with the surfaces.. .
cmq now I try, thank you!
cmq now I try, thank you!
IPdesign
Guest
I add to the excellent tip of linus that if you want you can extract the region ( already combined surfaces )
Cut the supposed height of your liquid and pin the cap by finishing all the seam.
or close near the cap
Cut the supposed height of your liquid and pin the cap by finishing all the seam.
or close near the cap
VALEBASO
Guest
thank you guys... I have to get familiar with the surfaces... But I'll see to myself that I'm very benign. . . !
VALEBASO
Guest
beppino
Guest
insert - combine bodies - sewdoes it make a solid render??
If you've done the job for good, it's a solid. otherwise you return a group of surfaces, and you have to "cap" the holes.
Sagoma
Guest
..if the seam is correctly executed the creation of the solid is automatic. Unfortunately when using this command not always the result is the hoped one. You should analyse the surfaces to see if there are micro cracks or other shape problems. the advice I can give you is to proceed by step that is to sew a surface at a time so as to see if the contour format is really the sum of the starting surface plus the new just added. If you want, help with the examine geometry command and as you sew it analyzes the result of the union to see if under information (i) creates a single boundary (you must say that there is always only one boundary... if it tells you that there are two means that the seam has not gone to good end ).
I don't know if I explained well... when it comes to surfaces it's always a bit complicated... if you have doubts that I try to help you. . .
Hi.
I don't know if I explained well... when it comes to surfaces it's always a bit complicated... if you have doubts that I try to help you. . .
Hi.
VALEBASO
Guest

beppino
Guest
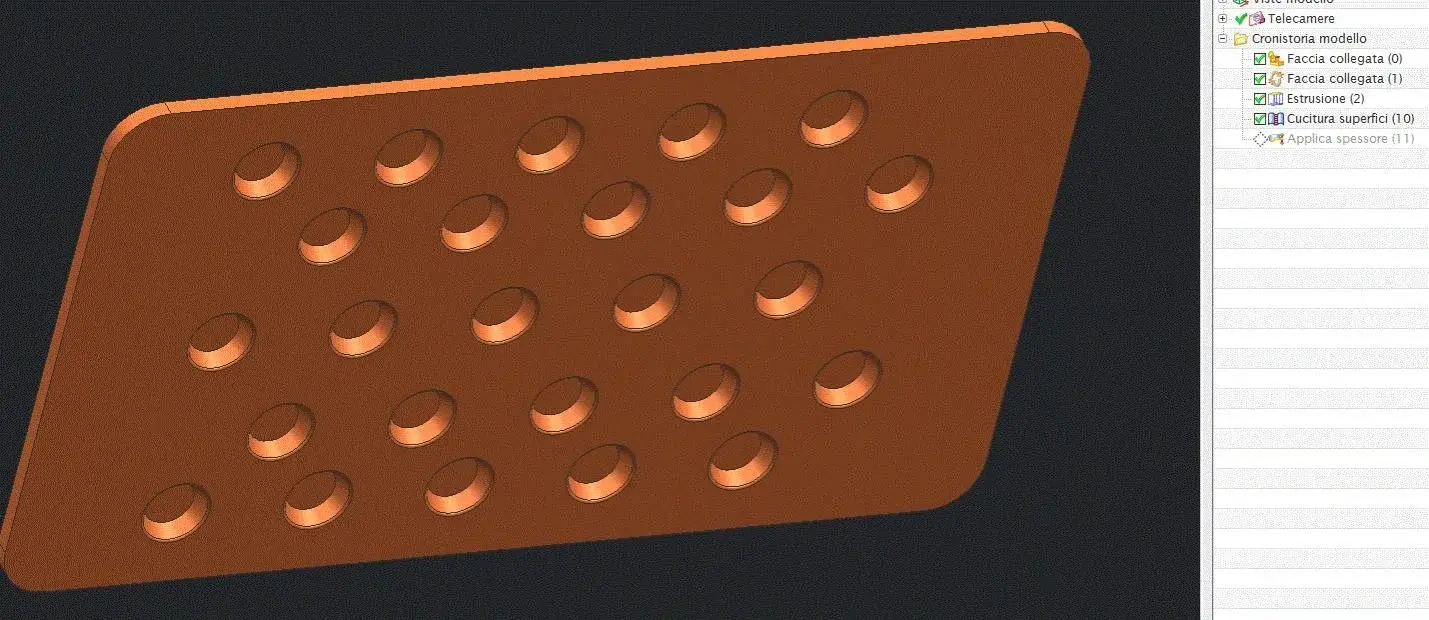
instead of confirming, apply the preview.This is what the info tells me...:mixed:
the object if they select it is unique, but nn a solid,
I solved by giving a thickness of 0.01 with applied thickness. . But...
the system highlights you one or more points.
those are points where you have open edges, which you need to shape to "cut the holes".
when you no longer have open edges, the system will close to solid.
also try to increase a little seam tolerance up to 0.02 - 0.03 mm.
Sagoma
Guest
...I posted a simple example of what I meant with the speech you need to find a single boundary after the seam operation. as you see by joining two simple surfaces if I go to analyze the resulting geometry with the command "examine geometry" gives me this result... which means that the operation has succeeded... I for similar problems proceeded by step joining one after the other all the surfaces and after each single operation I analyzed the result to make sure that it had succeeded.. .This is what the info tells me...:mixed:
the object if they select it is unique, but nn a solid,
I solved by giving a thickness of 0.01 with applied thickness. . But...
Attachments

VALEBASO
Guest
Thank you, I understand what you mean as soon as I have time, and I will let you know!
thanks:finger:
thanks:finger: